What is iPiccy? 
iPiccy is FREE photo editing, online, in your browser. It's the easiest way on the Internet to fix underexposed photos, remove red-eye, resize or apply effects
to your photos. iPiccy also has a paint tool as well. No registration is required and that is fantastic for younger students under 13 years old.
Note - iPiccy requires Flash - Click here for download only if iPiccy does not load.
Upload a Photo from Your Computer 
- In iPiccy select
 the Get Picture Tab at the top of the menu. Now select Upload photo
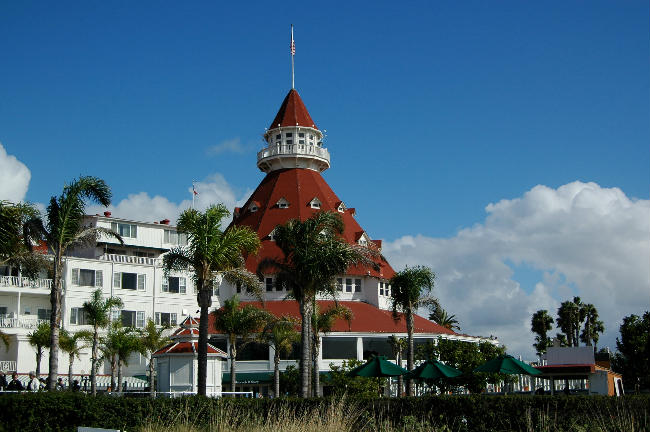
- Go to your computer hard drive and select a photo. Notice the example to the right - the photo
selected (hotel Del Coranado.jpg) is really large.
- The file size is 1.55 mg. (too big for a presentation like PowerPoint or hosted on a class web site.) So, this is one important way to use iPiccy by reducing the file size down from 1.55 mg. to a file size under 100 KB.
- Now you can select your image and click the Open button. This will open your image in iPiccy.
Editor Tab and Resize image

- Click on the Editor Tab in the top menu bar
 Select, Resize image on the left menu bar. Original size is 2900 x 1928.
- Using the Width slider tool, Reduce the large Width pixels from 2900 to about 650.
- When you Contrain proportions, this will automatically reduce the height down to 432.
- Click Apply and your picture dimensions will reduce on screen.
Save and Share to a computer

- Click on Save & Share in the top menu bar to move the photo from iPiccy to your computer desktop.

- In
saving the photo to the computer, you may want to change the name of
file if you do not want to replace the original master probably still
located on your hard drive. Here the file name 'hotel Del Coronado.jpg' was changed to 'hotel Del Coronado_650.jpg'
- The File Format is unchanged as JPG but see how the Quality was reduced to 75%.
By reducing the quality bar, you can drastically reduce the
file size of your photo! This does have a downside, so make sure you
don't reduce the quality so much that you have a grainy fuzzy photo.
Here the quality was reduced to make the file size 59Kb.
Recap
Here was the process taken with the original hotel Del Coranado.jpg photo:
- The orginal dimension size was 2900 x 1928.
- The orginal file size was 1.55 mg.
- In editing and saving process, the dimension size was reduced to 650 x 432 and the final file size was reduced to 59Kb!
YouTube Tutorials

Groupwerk, Inc. Copyright © 2016. All rights reserved.