Image Editing with Adobe Aviary
- In this workshop, we will go through several activities so that you can explore the Aviary Photo Editor menu bar tools in a hands-on project with a large photograph.
Quick Tip on Image Dimension - width x height
- Digital Pictures are in 4 x 3 aspect ratio Landscape
- or 3 x 4 Portrait ratio.
- When Resizing, Keep the aspect ratio - LOCKED - so you won't distort the picture
- 1024 x n - Don't really need to go higher than 1024 if you want a really big picture
- 640 x 480 – Usually this is the largest size you need for most presentations like Google Slides
- 320 x 240 – Half the size down from 640 x 480 – works well for most presentations
- 160 x 120 – half the size down from 320 x 240 – a good small size
Activity 1 - Drought Photograph Resize

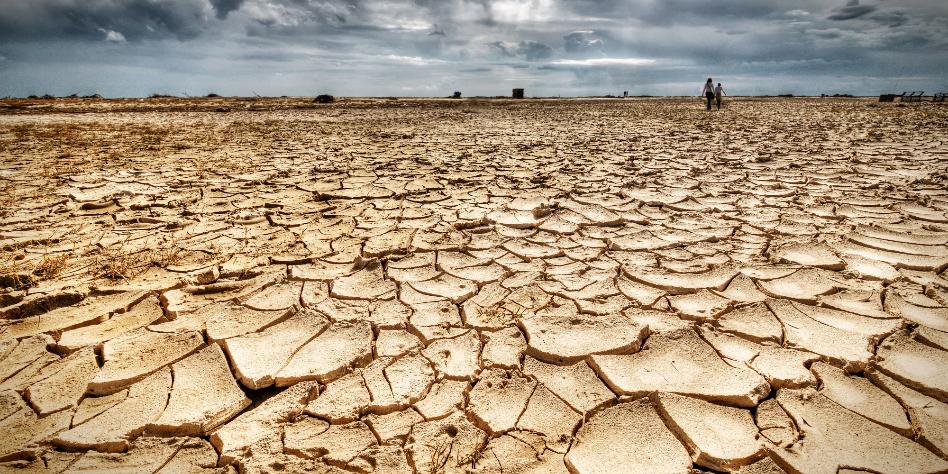
- This original photo was shot at 2000 x 1000
- Original Image size is 1.09 mb.
- Drag the Drought image (directly below) to your Desktop.
- Open Aviary web app and drag Drought image into the middle of the app. Aviary will automatically reduce the image to 1024 x 512. So any image over 1024 will be automatically reduced to 1024.
- Click on the Photo Editor Resize Tool and reduce the image proportionally: by selecting 640 as the new width the height will automatically change to 320.
Activity 2 - Drought Photograph Effects

- Select Effects from the Photo Editor Menu
- Select a filter that still show the two people in the upper right hand corner (e.g Classic>Ventura)
- Click on the Apply button.
Activity 3 - Drought Photograph Text

- Select Text from the Photo Editor Menu
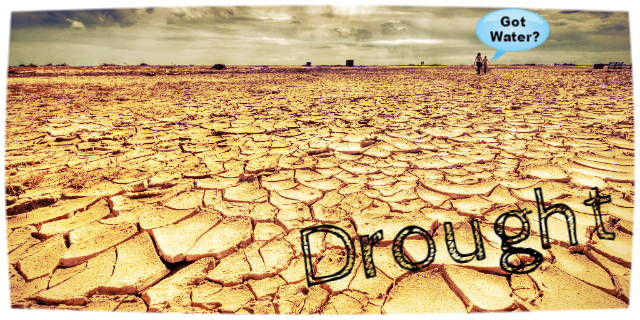
- Enter Text Here - I wrote Drought, now go ahead and play with a font (I selected Cabin Sketch), size, orientation, color (make sure you have a contrasting color that can easily be read by students)
- Click on the Apply button.
- As another activity, you can go to Stickers>Signature>Scroll right to the speech bubbles. Place a speech bubble in the picture, press Apply and then go back to the text button, add text and then move into the bubbles and press Apply.
- Then click on the Save Button and Download to your computer. Drag the file to the desktop and rename. Here is final project below. Image size is now 497 KB.
How can Aviary be used in your classroom
- 'Read a Photo' as a whole class discussion lesson Intro hook
- Make Visual Vocabulary lists with Google Slides
- Storybooks with Google Slides
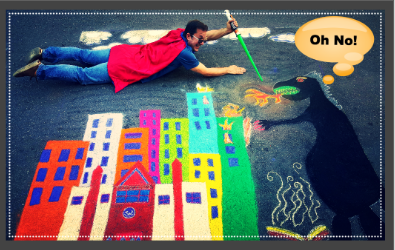
- Digital Art
- Digital Posters
- Comic Strips using speech bubbles
- Labeling parts of an object or shapes in a landscape
- Advertisements


Groupwerk, Inc. Copyright © 2009-2018. All rights reserved.